How Do I Calculate What Size Culvert I Need?
News 2026-02-06
When it comes to culverts, size matters. Installing one that’s too small can lead to flooding, erosion, or even road failure. On the other hand, one that’s oversized means unnecessary costs and wasted materials. Getting the right size culvert isn’t just about grabbing the biggest pipe you can find. It’s about understanding how water moves and what your site needs. Let’s break down the process step by step so you can make the right call without overthinking it.
1. Know What a Culvert Does: The Basics
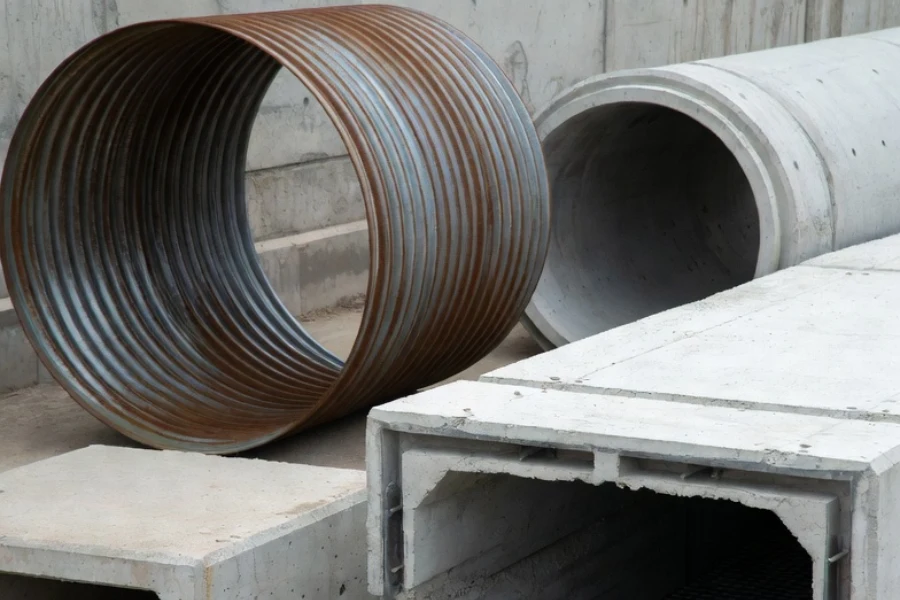
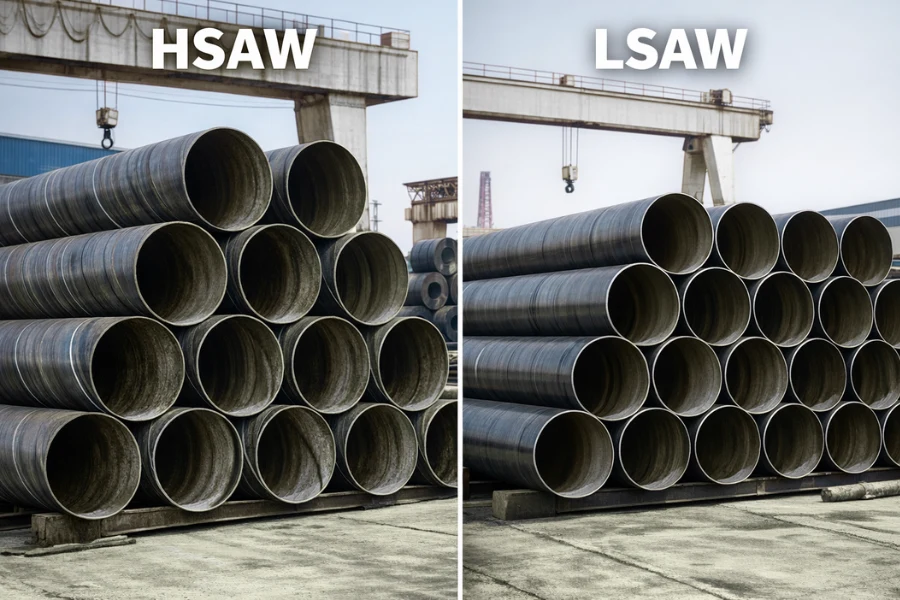
Different types of culverts – Metal, Concrete, and Box Culverts
A culvert is more than just a pipe beneath a road — it’s a crucial part of your drainage system. If you’re planning to install one, you need to know what it’s meant to do: move water efficiently and prevent overflow. If your culvert can’t handle the expected flow, you’ll face issues down the line — flooding, road damage, and costly repairs. Simply put, it’s a key player in your infrastructure.
2. Calculate Water Flow: The First Step in Sizing
Now, let’s figure out how much water your culvert needs to carry. Start by calculating the drainage area — the land that drains into the culvert. Bigger areas contribute more runoff. For example, a pasture will have less runoff than a paved parking lot, so your runoff coefficient (a number that represents how much water the land sheds during a rainstorm) will vary.
Then, check local rainfall data for the storm conditions you want to prepare for. You’ll typically use the 10-year storm or 25-year storm as the baseline for peak runoff. From there, you’ll calculate your peak flow rate (in cubic feet per second, or cfs).
You can also use Talbot’s formula, which looks like this:
A = C × M^0.75
where:
A = required culvert cross‑sectional area,
C = runoff coefficient,
M = drainage area (in acres).
This gives you a quick target area for your culvert.
3. Use Manning’s Equation: Time to Get Technical
With your flow rate (Q) in hand, it’s time to calculate the cross-sectional area of the culvert. Here’s where Manning’s Equation comes into play:
Q = (1.49 / n) × A × R^(2/3) × S^(1/2)
Where:
-
Q = flow rate (cfs)
-
n = Manning’s roughness coefficient (this will vary depending on the material)
-
A = cross‑sectional flow area (square feet)
-
R = hydraulic radius (area ÷ wetted perimeter)
-
S = slope of the culvert
To find the diameter (for a circular pipe), you’ll use the following:
Area = π × (D/2)²
→ D = √(4 × Area / π)
4. Pipe Size: The Final Calculation
With the area calculated, the next step is translating that into a pipe size. For a circular culvert, use the equation above to find the diameter. If you’re going for a box culvert, it’s slightly different. The cross‑sectional area (width × height) will tell you what dimensions you need.
It’s a straightforward math process, but keep in mind that local standards often come into play. For instance, many municipalities won’t approve anything smaller than a 12-inch pipe for smaller residential roads. And for larger roads or highways, you’re likely looking at much bigger pipes — sometimes 36 inches or more.
5. Don’t Forget Local Standards and Practical Concerns
While the math is crucial, don’t forget about the practical side. Local regulations or engineering standards often define minimum sizes, which helps prevent culverts from becoming undersized. Also, culverts need to be properly aligned and have a smooth gradient to prevent sediment from building up and blocking water flow. If you’re unsure, consulting a professional can save you time and money.
6. When in Doubt, Use Software
For large projects or when in doubt, using software tools like HY-8 or HEC-RAS can help you get more precise. These programs model how water behaves under various conditions, accounting for factors like debris, silt, and changes in slope. They also take into account backwater effects (when water backs up behind a culvert), which can be crucial in tight spaces.
7. Real-World Example: Sizing a Culvert

Real-world culvert installation in construction for drainage
Let’s say you’re working on a driveway and need a culvert for a small stream. After measuring the drainage area (let’s say 5 acres) and finding your runoff coefficient (C = 0.3), you can use Talbot’s formula to get the area. Manning’s equation will help you estimate the diameter, and from there, you’ll have your minimum pipe size. Remember to check local codes, and if it’s for a road or highway, consult an engineer to make sure it meets all standards.
Conclusion
Choosing the right culvert size isn’t just about picking a random pipe. It’s about understanding the water you’re working with, performing the necessary calculations, and making sure everything’s up to code. With the right knowledge and a bit of math, you’ll keep your drainage system flowing smoothly and avoid the headaches of oversizing or undersizing a culvert.
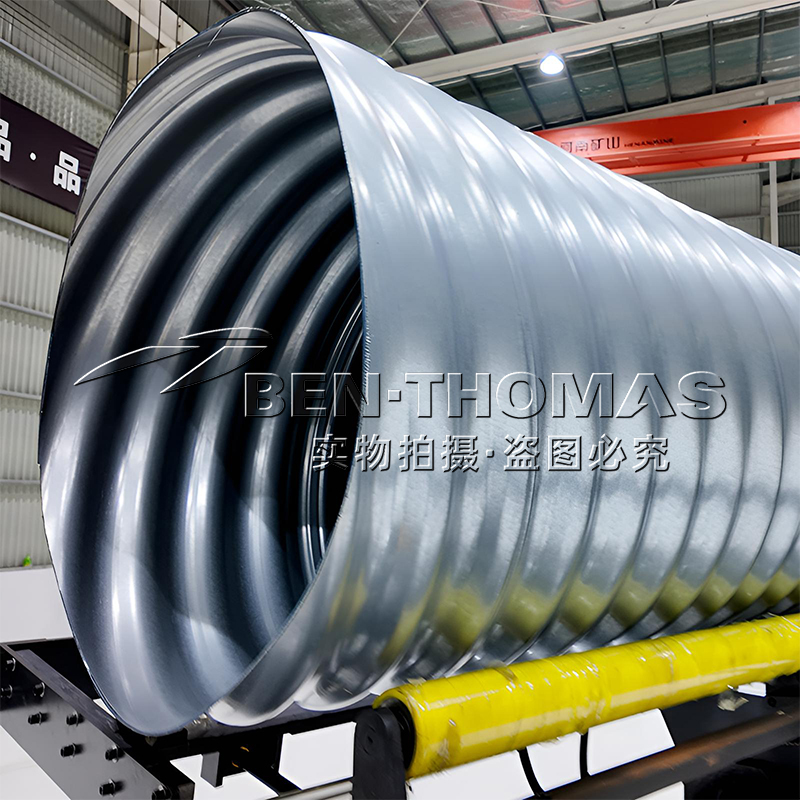
If you’re ever in doubt, don’t hesitate to reach out to the experts. Ben-Thomas, a leader in culvert manufacturing and production, provides state-of-the-art Metal Culvert Pipe Production Lines tailored to your project’s needs. Whether you’re looking for a custom solution or need advice, our experienced team can guide you through the entire process. Trust the experts — for quality, reliability, and performance, choose Ben-Thomas.
Practical Takeaways
-
Don’t oversize your culvert — it leads to unnecessary costs.
-
Understand the water flow — larger areas mean more runoff.
-
Use engineering formulas like Manning’s to estimate cross-sectional area.
-
Follow local standards — they’re there for a reason.
-
Software tools help for more complex projects.
By focusing on practical, reliable culvert sizing methods, you’ll ensure long-term efficiency without the guesswork.